


I am going to learn how to add arrows to a picture in Microsoft Word.
To add arrows, we first change the layout options of the picture.文章源自LuckYou.ORG-https://luckyou.org/87.html
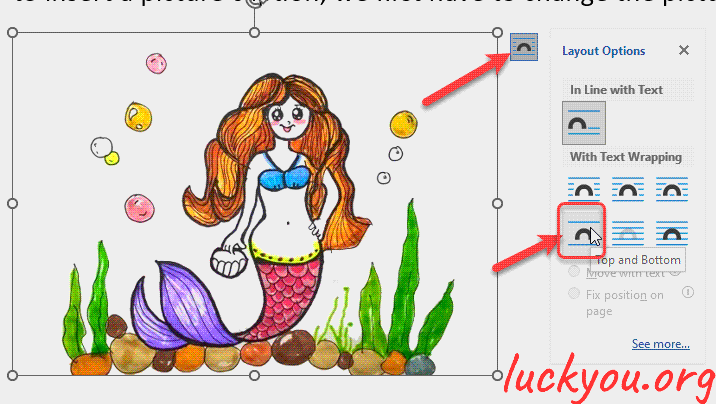
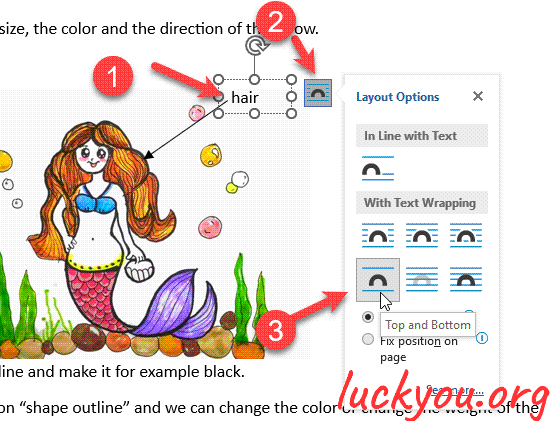
So we click on the picture, and then this layout options button will appear in the top right corner.文章源自LuckYou.ORG-https://luckyou.org/87.html
There we click on this button, and now we choose one of the these text wrapping options.文章源自LuckYou.ORG-https://luckyou.org/87.html
So I usually choose this top and bottom text wrapping option.文章源自LuckYou.ORG-https://luckyou.org/87.html
 文章源自LuckYou.ORG-https://luckyou.org/87.html
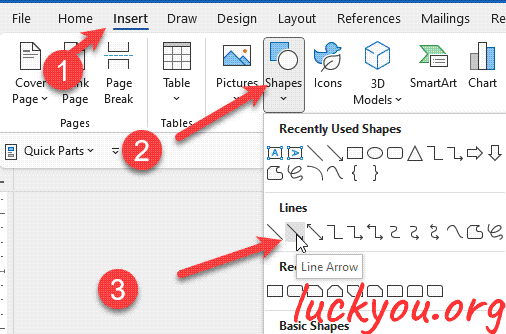
And now we can already insert the arrow.文章源自LuckYou.ORG-https://luckyou.org/87.html
So we go to the insert tab, click on “shapes”, and there we select the arrow.文章源自LuckYou.ORG-https://luckyou.org/87.html
Then we drag this arrow and to make it straight, we hold down the shift key on our keyboard.文章源自LuckYou.ORG-https://luckyou.org/87.html
 文章源自LuckYou.ORG-https://luckyou.org/87.html
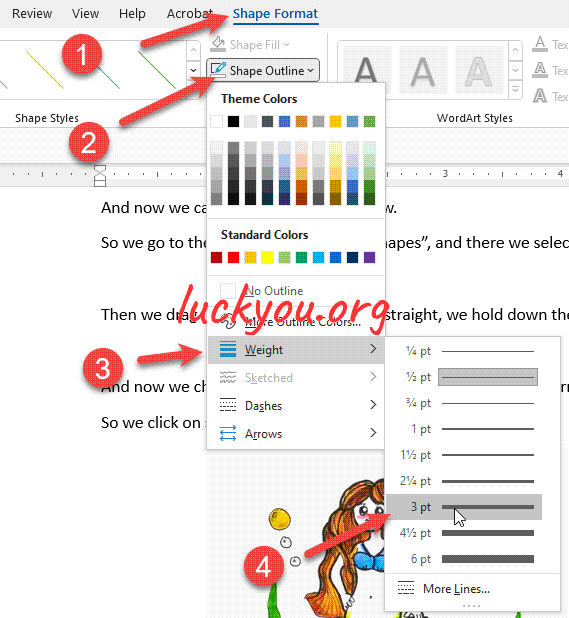
And now we change the size and the color of the arrow.文章源自LuckYou.ORG-https://luckyou.org/87.html
So we click on shape outline and make it for example black.
And then when we click on shape outline, we can change the weight so I will select three points here.
Now I move this arrow onto the picture, and then we insert a text box.
So we go to “insert”, click on “text box”, and choose this text box here.
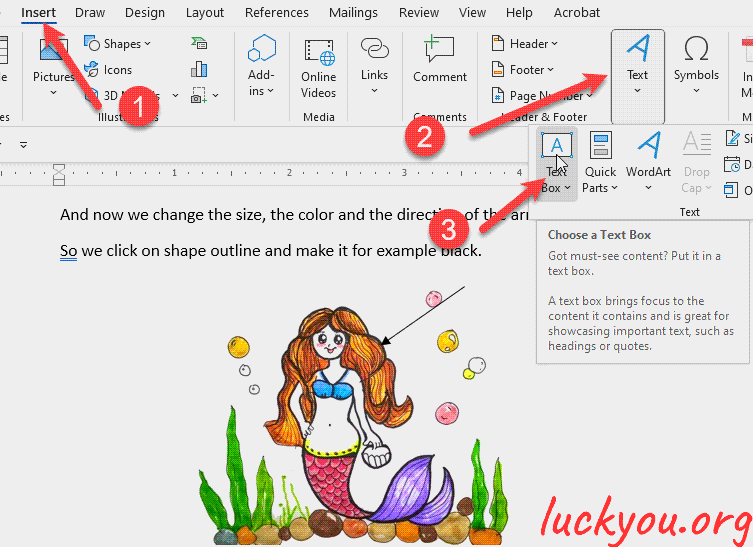
And there we can write in our text. But now we first have to make it transparent.
So we go to shape fill and click on no fill.
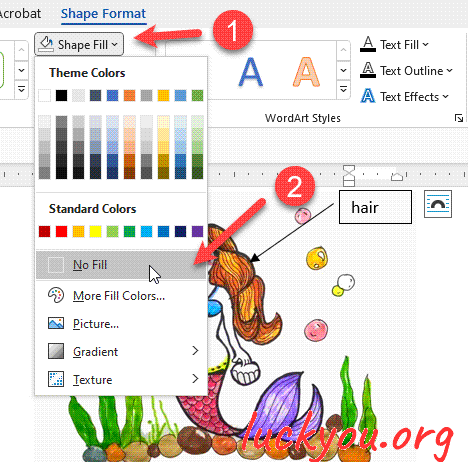
And we will also remove the outline.So go to “shape outline” and click on “no outline”.

And for this box, we also have to change the layout options, so we again click on this button.
And here we also select top and bottom. Now we can move this text box to the arrow, then we click into this text box and center the text inside the box.
And I will make it a bit smaller.
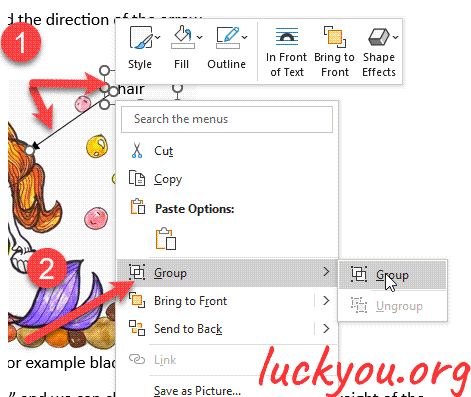
And now I will move it to the arrow, and so that it is centered. And now to group the text box and the arrow we simply hold down the control key, and click on the arrow, and when both are selected we do a right click on them, and go to group and there we select group, and now this text box in the arrow is one group.
The good thing about this is that we can now easily duplicate that whole group, so when we hold down the control key and now drag the border of this group, the whole group will be duplicated.
And like this we can now position this arrow with the text box on the image.

And now we have to group it with this image so that everything will be moved together.
So we select the first text box holds down the control key.
Then we select the next text box, and still holds down the control key.
And then we select the image, do a right click, go to “group” and select group.
And as you can see that the layout options of this whole group has changed.
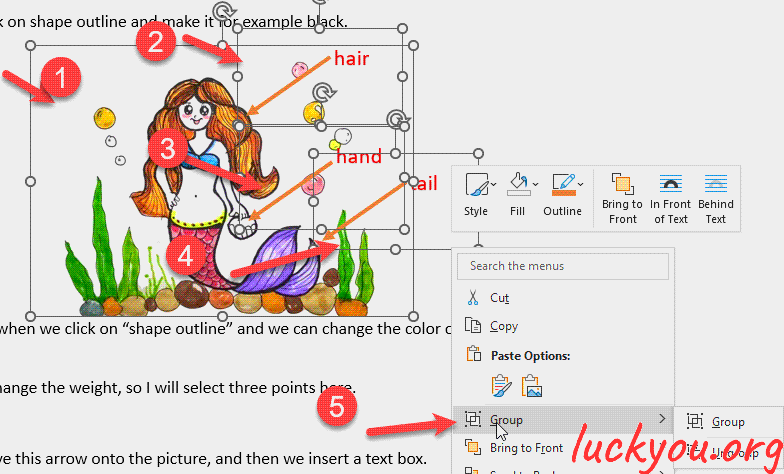
So we again go to layout and select top and bottom again.
And now we have this image with the added arrows and the text boxes, which are basically describing the image.
So that’s it.
Comments